14.1 Organizing a Visual Presentation
Learning Objectives
- Identify key ideas and details to create a concise, engaging presentation.
- Identify the steps involved in planning a comprehensive presentation.
Until now, you have interacted with your audience of readers indirectly, on the page. You have tried to anticipate their reactions and questions as all good writers do. Anticipating the audience’s needs can be tough, especially when you are sitting alone in front of your computer.
When you give a presentation, you connect directly with your audience. For most people, making a presentation is both exciting and stressful. The excitement comes from engaging in a two-way interaction about your ideas. The stress comes from the pressure of presenting your ideas without having a delete button to undo mistakes. Outside the classroom, you may be asked to give a presentation, often at the last minute, and the show must go on. Presentations can be stressful, but planning and preparation, when the time and opportunity are available, can make all the difference.
This chapter covers how to plan and deliver an effective, engaging presentation. By planning carefully, applying some time-honored presentation strategies, and practicing, you can make sure that your presentation comes across as confident, knowledgeable, and interesting—and that your audience actually learns from it. The specific tasks involved in creating a presentation may vary slightly depending on your purpose and your assignment. However, these are the general steps.
Follow these steps to create a presentation based on your ideas:
- Determine your purpose and identify the key ideas to present.
- Organize your ideas in an outline.
- Identify opportunities to incorporate visual or audio media, and create or locate these media aids.
- Rehearse your presentation in advance.
- Deliver your presentation to your audience.
Getting Started: Identifying and Organizing Key Ideas
To deliver a successful presentation, you need to develop content suitable for an effective presentation. Your ideas make up your presentation, but to deliver them effectively, you will need to identify key ideas and organize them carefully. Read the following considerations, which will help you first identify and then organize key ideas:
- Be concise. You will include the most important ideas and leave out others. Some concepts may need to be simplified.
- Employ more than one medium of expression. You should incorporate other media, such as charts, graphs, photographs, video or audio recordings, or websites.
- Prepare for a face-to-face presentation. If you must deliver a face-to-face presentation, it is important to project yourself as a serious and well-informed speaker. You will often speak extemporaneously, or in a rehearsed but not memorized manner, which allows for flexibility given the context or audience. You will need to know your points and keep your audience engaged.
Determine Your Purpose
As with a writing assignment, determining the purpose of your presentation early on is crucial. You want to inform your readers about the topic, but think about what else you hope to achieve.
Are you presenting information intended to move your audience to adopt certain beliefs or take action on a particular issue? If so, you are speaking not only to inform but also to persuade your listeners. Do you want your audience to come away from your presentation knowing how to do something they that they did not know before? In that case, you are not only informing them but also explaining or teaching a process.
Writing at Work
Schoolteachers are trained to structure lessons around one or more lesson objectives. Usually the objective, the mission or purpose, states what students should know or be able to do after they complete the lesson. For example, an objective might state, “Students will understand the specific freedoms guaranteed by the First Amendment” or “Students will be able to add two three-digit numbers correctly.”
As a manager, mentor, or supervisor, you may sometimes be required to teach or train other employees as part of your job. Determining the desired outcome of a training session will help you plan effectively. Identify your teaching objectives. What, specifically, do you want your audience to know (for instance, details of a new workplace policy) or be able to do (for instance, use a new software program)? Plan your teaching or training session to meet your objectives.
Identify Key Ideas
To plan your presentation, think in terms of three or four key points you want to get across. In a paper, you have the space to develop ideas at length and delve into complex details. In a presentation, however, you must convey your ideas more concisely.
One strategy you might try is to create an outline. What is your main idea? Would your main idea work well as key points for a brief presentation? How would you condense topics that might be too lengthy, or should you eliminate topics that may be too complicated to address in your presentation?
Exercise 1
1. Revisit your presentation assignment, or think of a topic for your presentation. On your own sheet of notebook paper, write a list of at least three to five key ideas. Keep the following questions in mind when listing your key ideas:
- What is your purpose?
- Who is your audience?
- How will you engage your audience?
2. On the same paper, identify the steps you must complete before you begin creating your presentation.
Use an Outline to Organize Ideas
After you determine which ideas are most appropriate for your presentation, you will create an outline of those ideas. Your presentation, like a written assignment, should include an introduction, body, and conclusion. These components serve much the same purpose as they do in a written assignment.
- The introduction engages the audience’s attention, introduces the topic, and sets the tone for what is to come.
- The body develops your point of view with supporting ideas, details, and examples presented in a logical order.
- The conclusion restates your point of view, sums up your main points, and leaves your audience with something to think about.
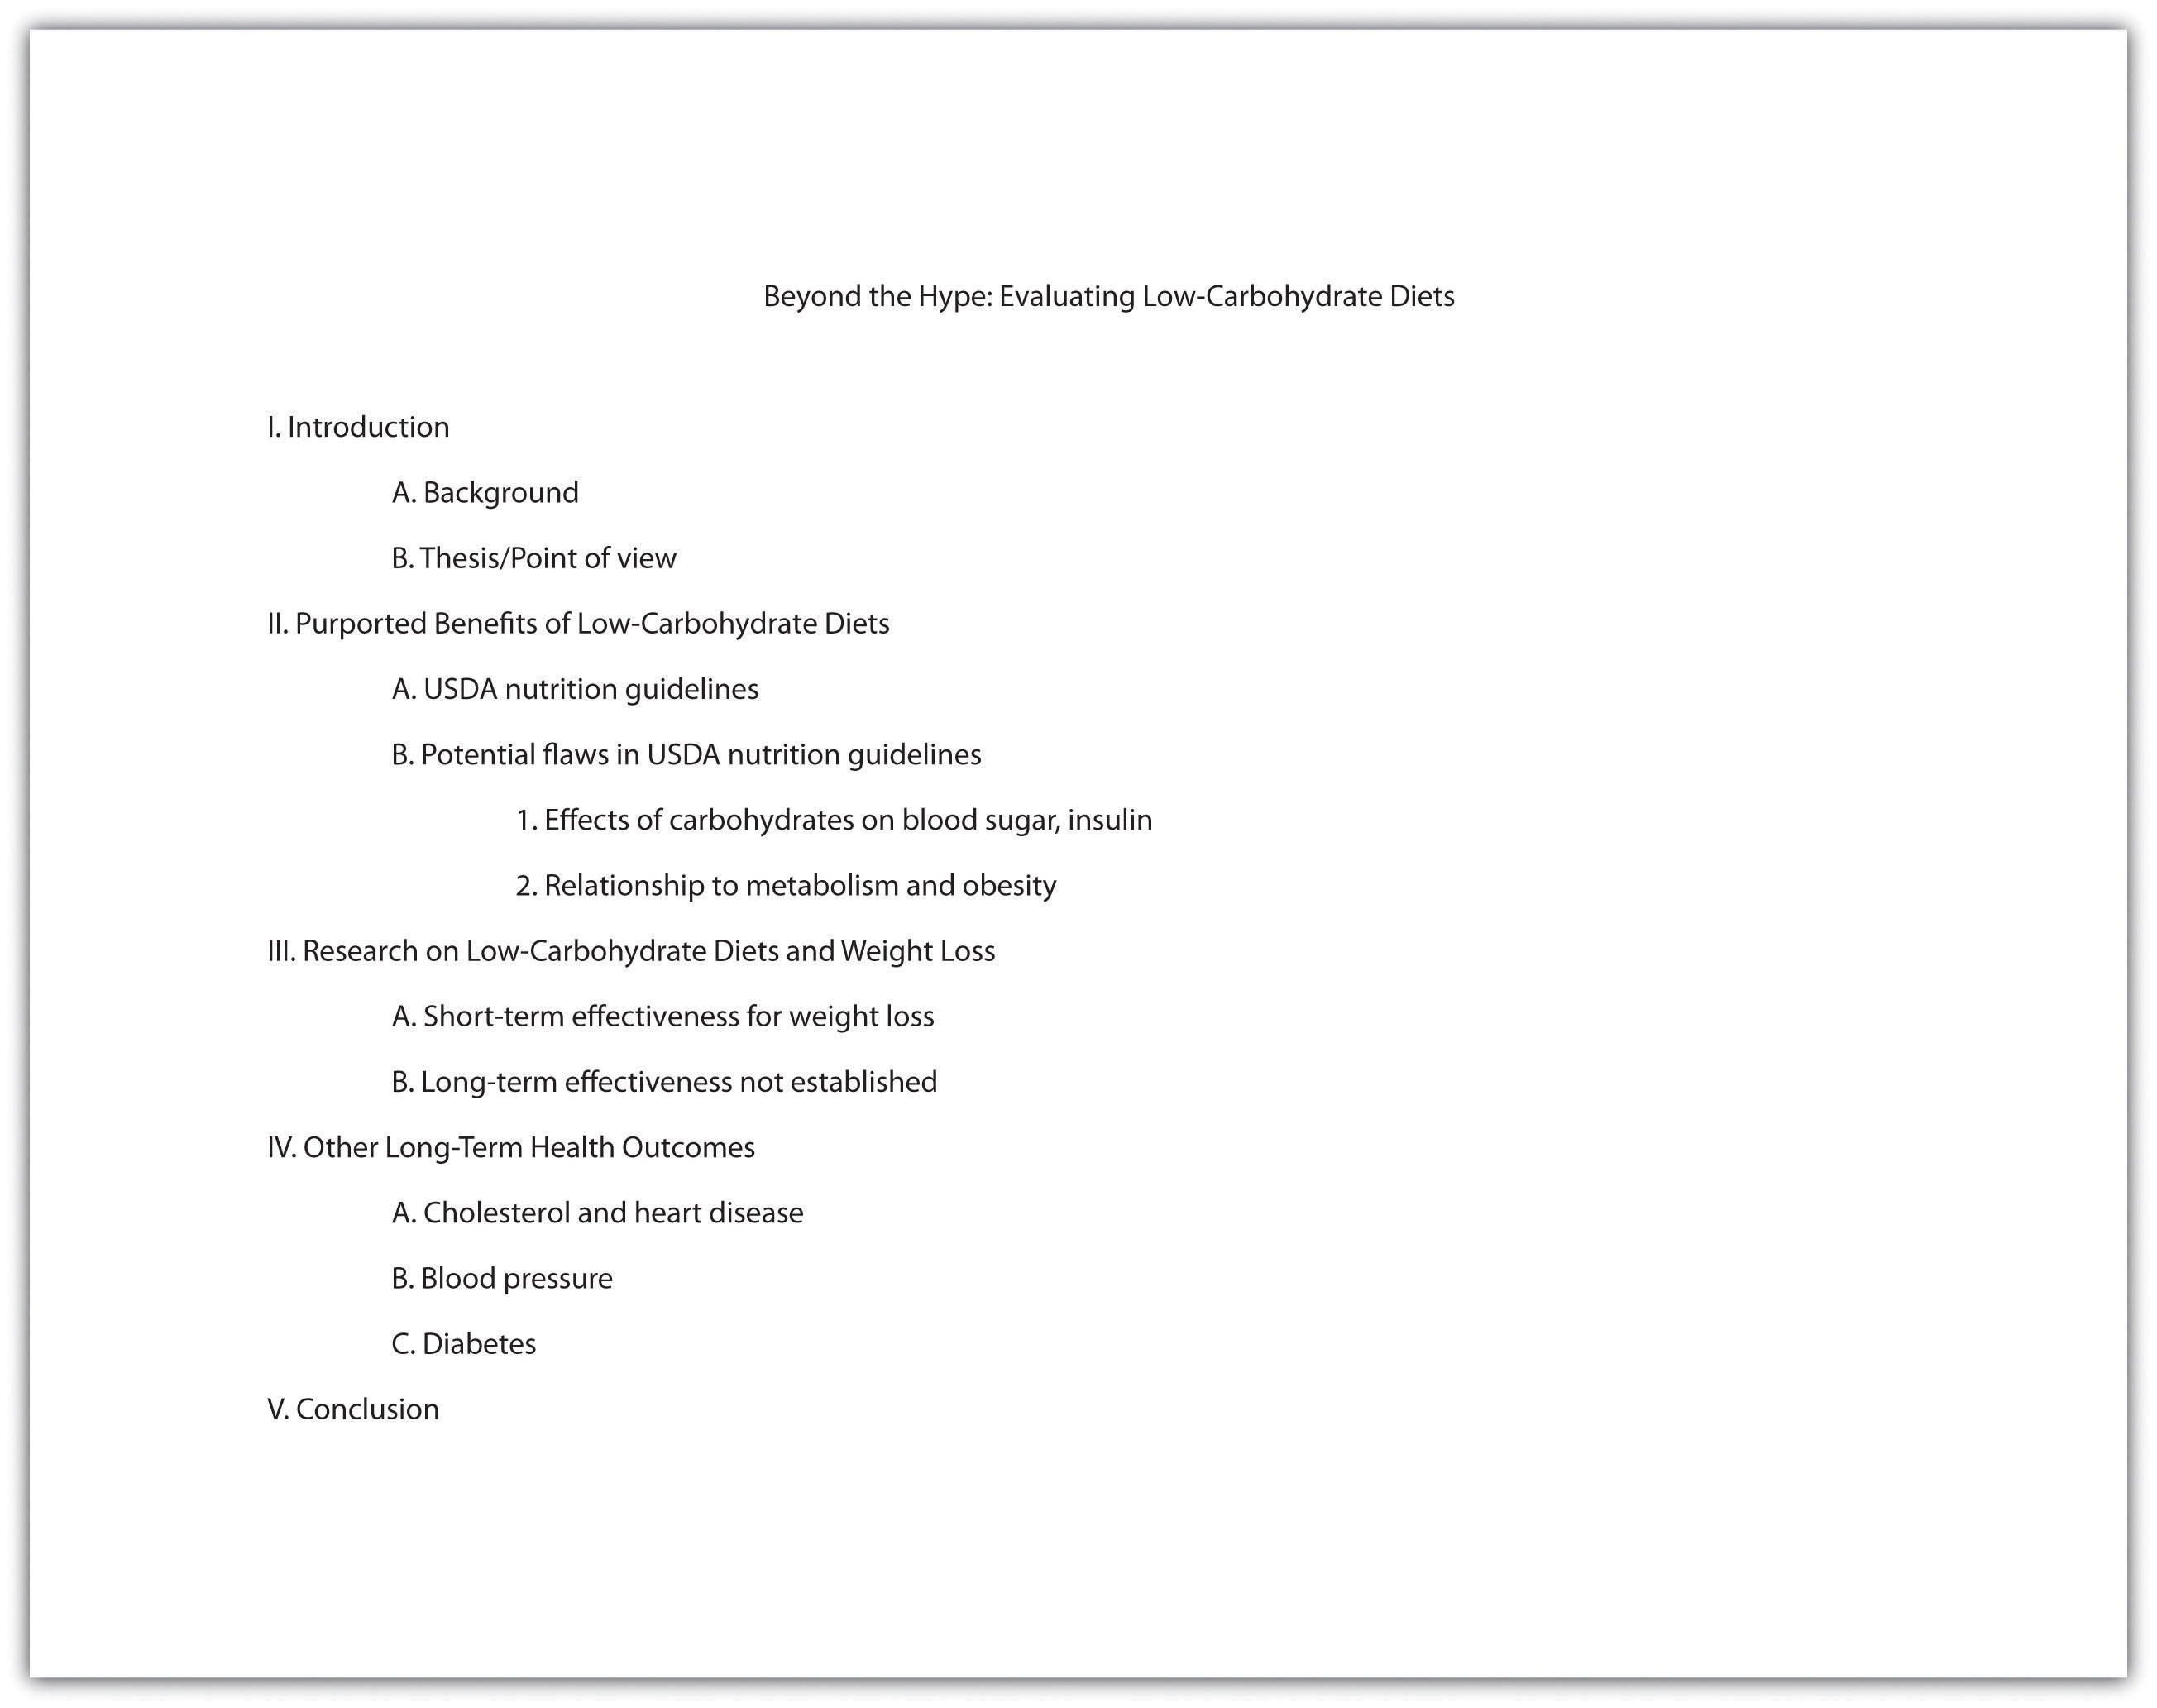
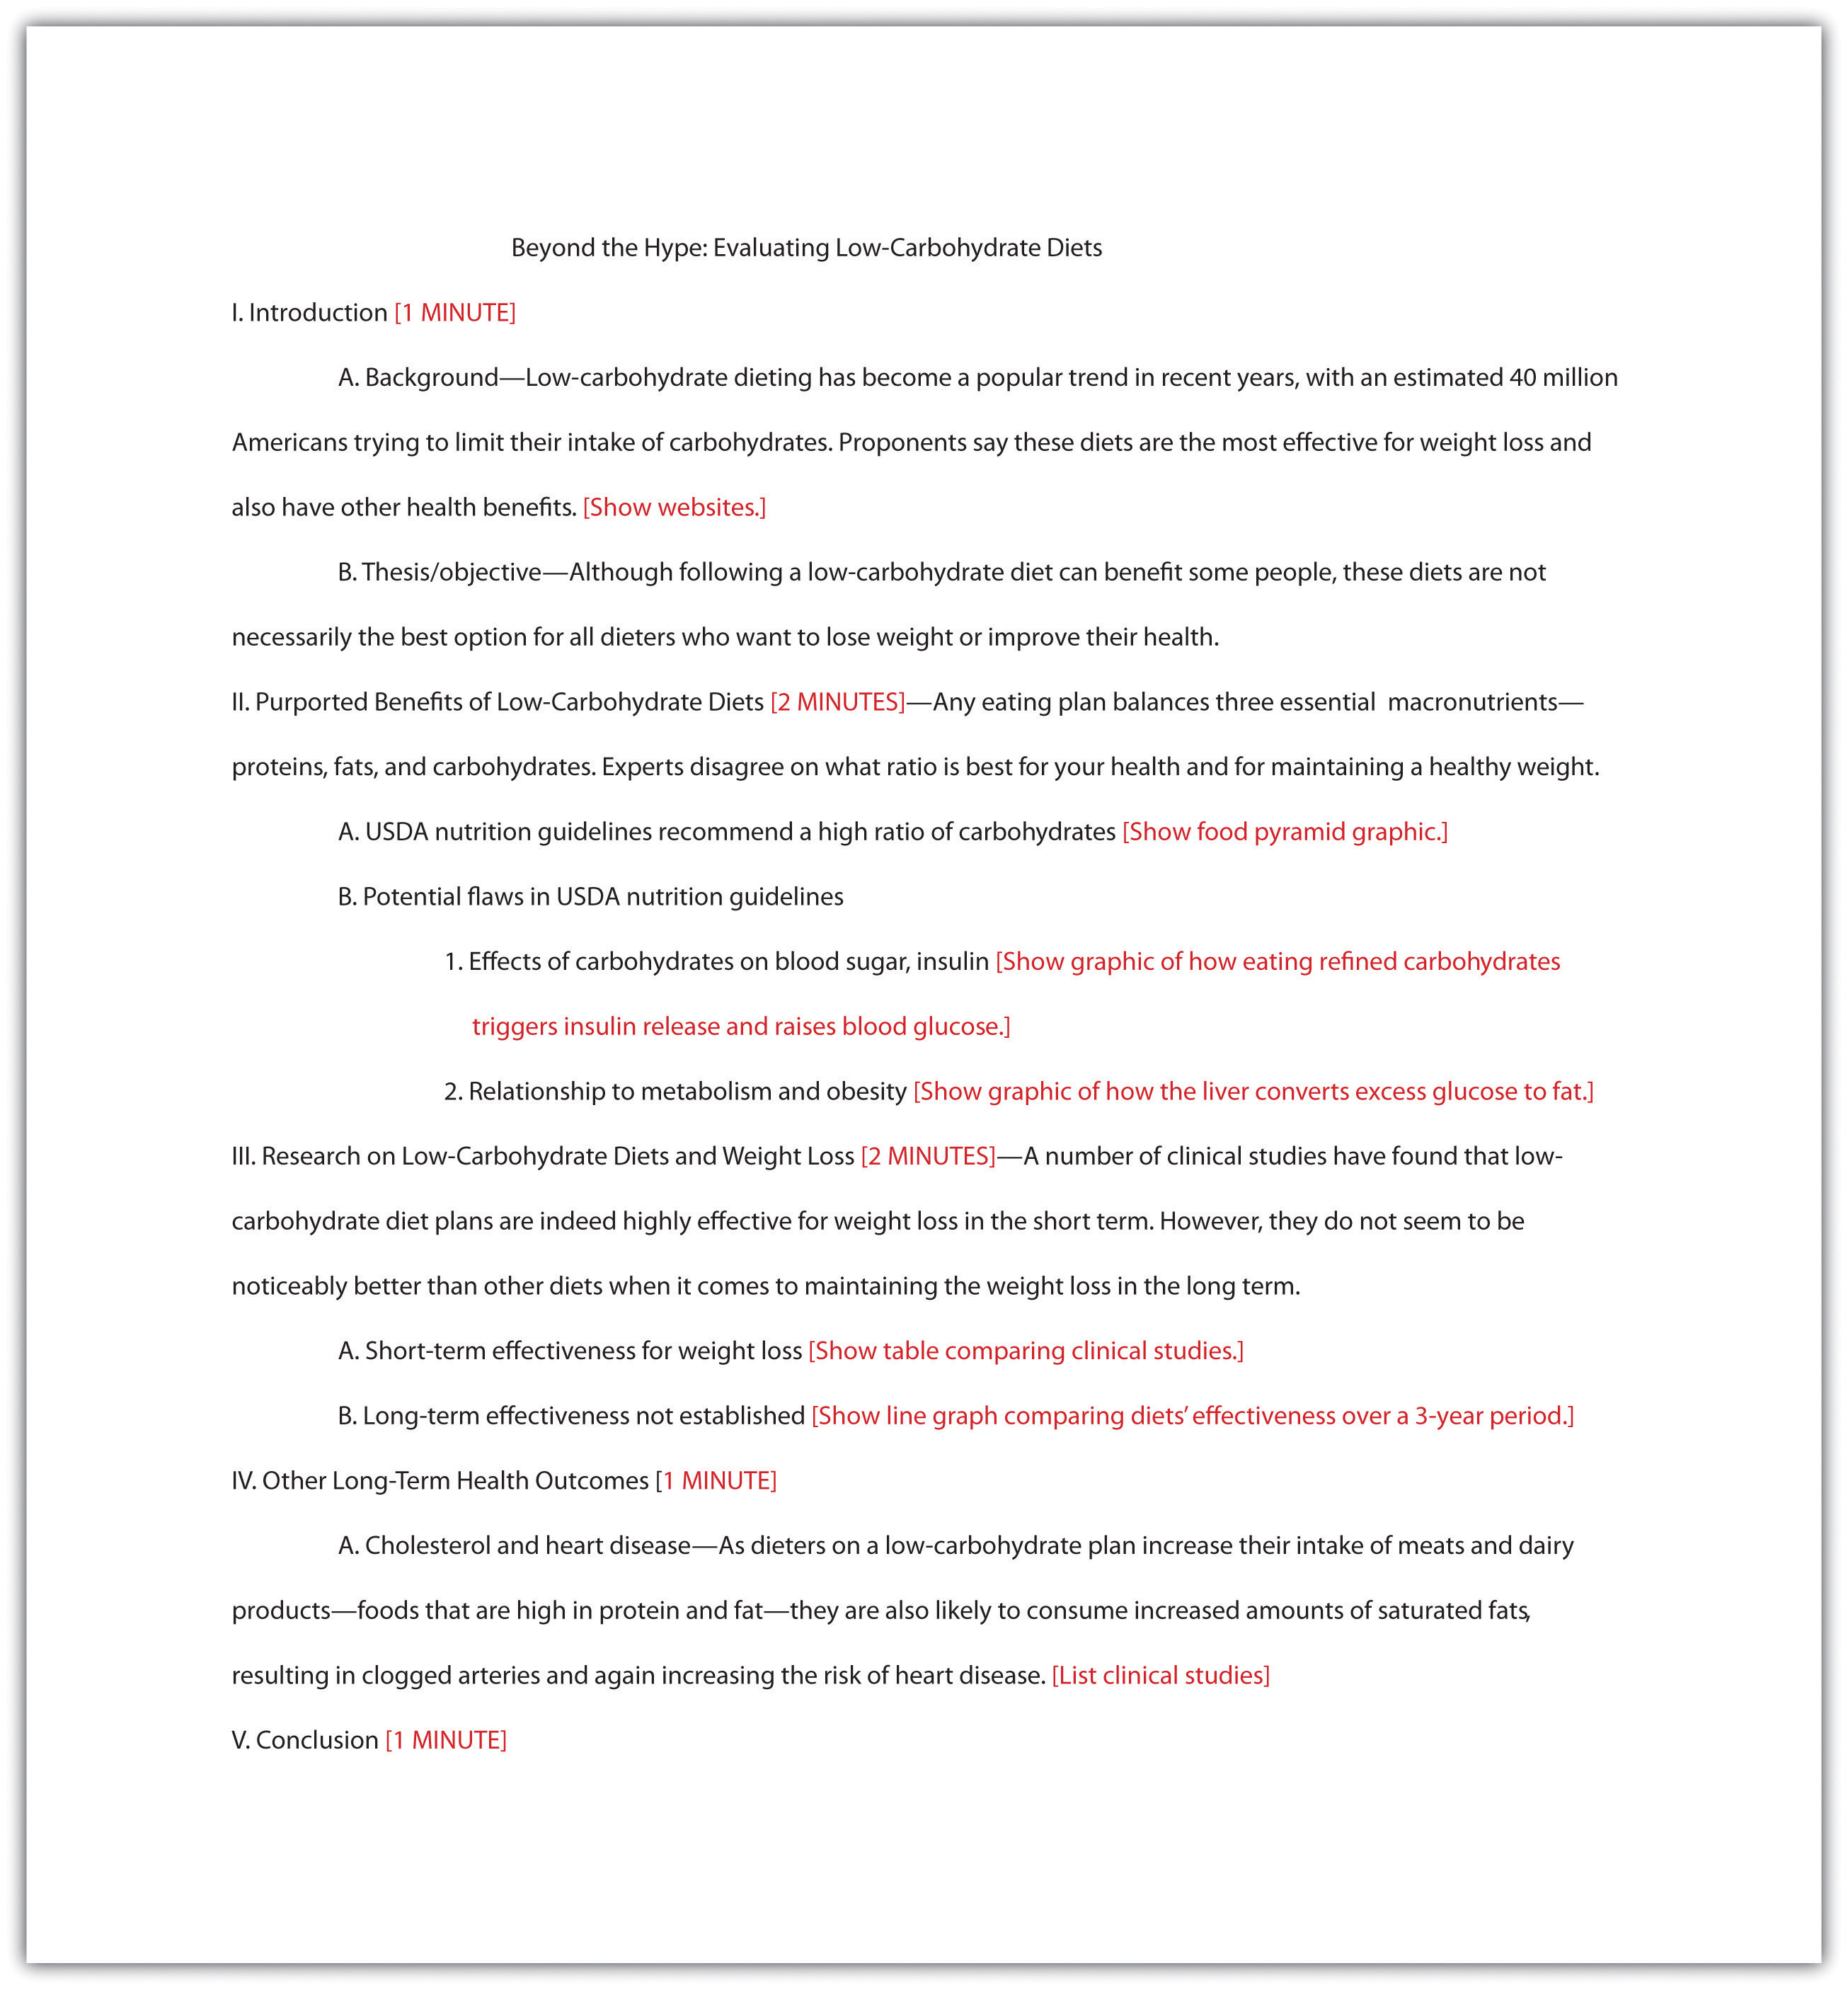
Jorge, who wrote the research paper featured in Chapter 11 “Writing from Research: What Will I Learn?”, developed the following outline. Jorge relied heavily on this outline to plan his presentation, but he adjusted it to suit the new format.
Planning Your Introduction
In Chapter 12 “Writing a Research Paper”, you learned techniques for writing an interesting introduction, such as beginning with a surprising fact or statistic, a thought-provoking question or quotation, a brief anecdote that illustrates a larger concept or connects your topic to your audience’s experiences. You can use these techniques effectively in presentations as well. You might also consider actively engaging your audience by having members respond to questions or complete a brief activity related to your topic. For example, you may have your audience respond to a survey or tell about an experience related to your topic.
Incorporating media can also be an effective way to get your audience’s attention. Visual images such as a photograph or a cartoon can invoke an immediate emotional response. A graph or chart can highlight startling findings in research data or statistical information. Brief video or audio clips that clearly reinforce your message and do not distract or overwhelm your audience can provide a sense of immediacy when you plan to discuss an event or a current issue. A PowerPoint presentation allows you to integrate many of these different media sources into one presentation.
Tip
With the accessibility provided by the Internet, you can find interesting and appropriate audio and video with little difficulty. However, the clip alone will not sustain the presentation. To keep the audience interested and engaged, you must frame the beginning and end of the clip with your own words.
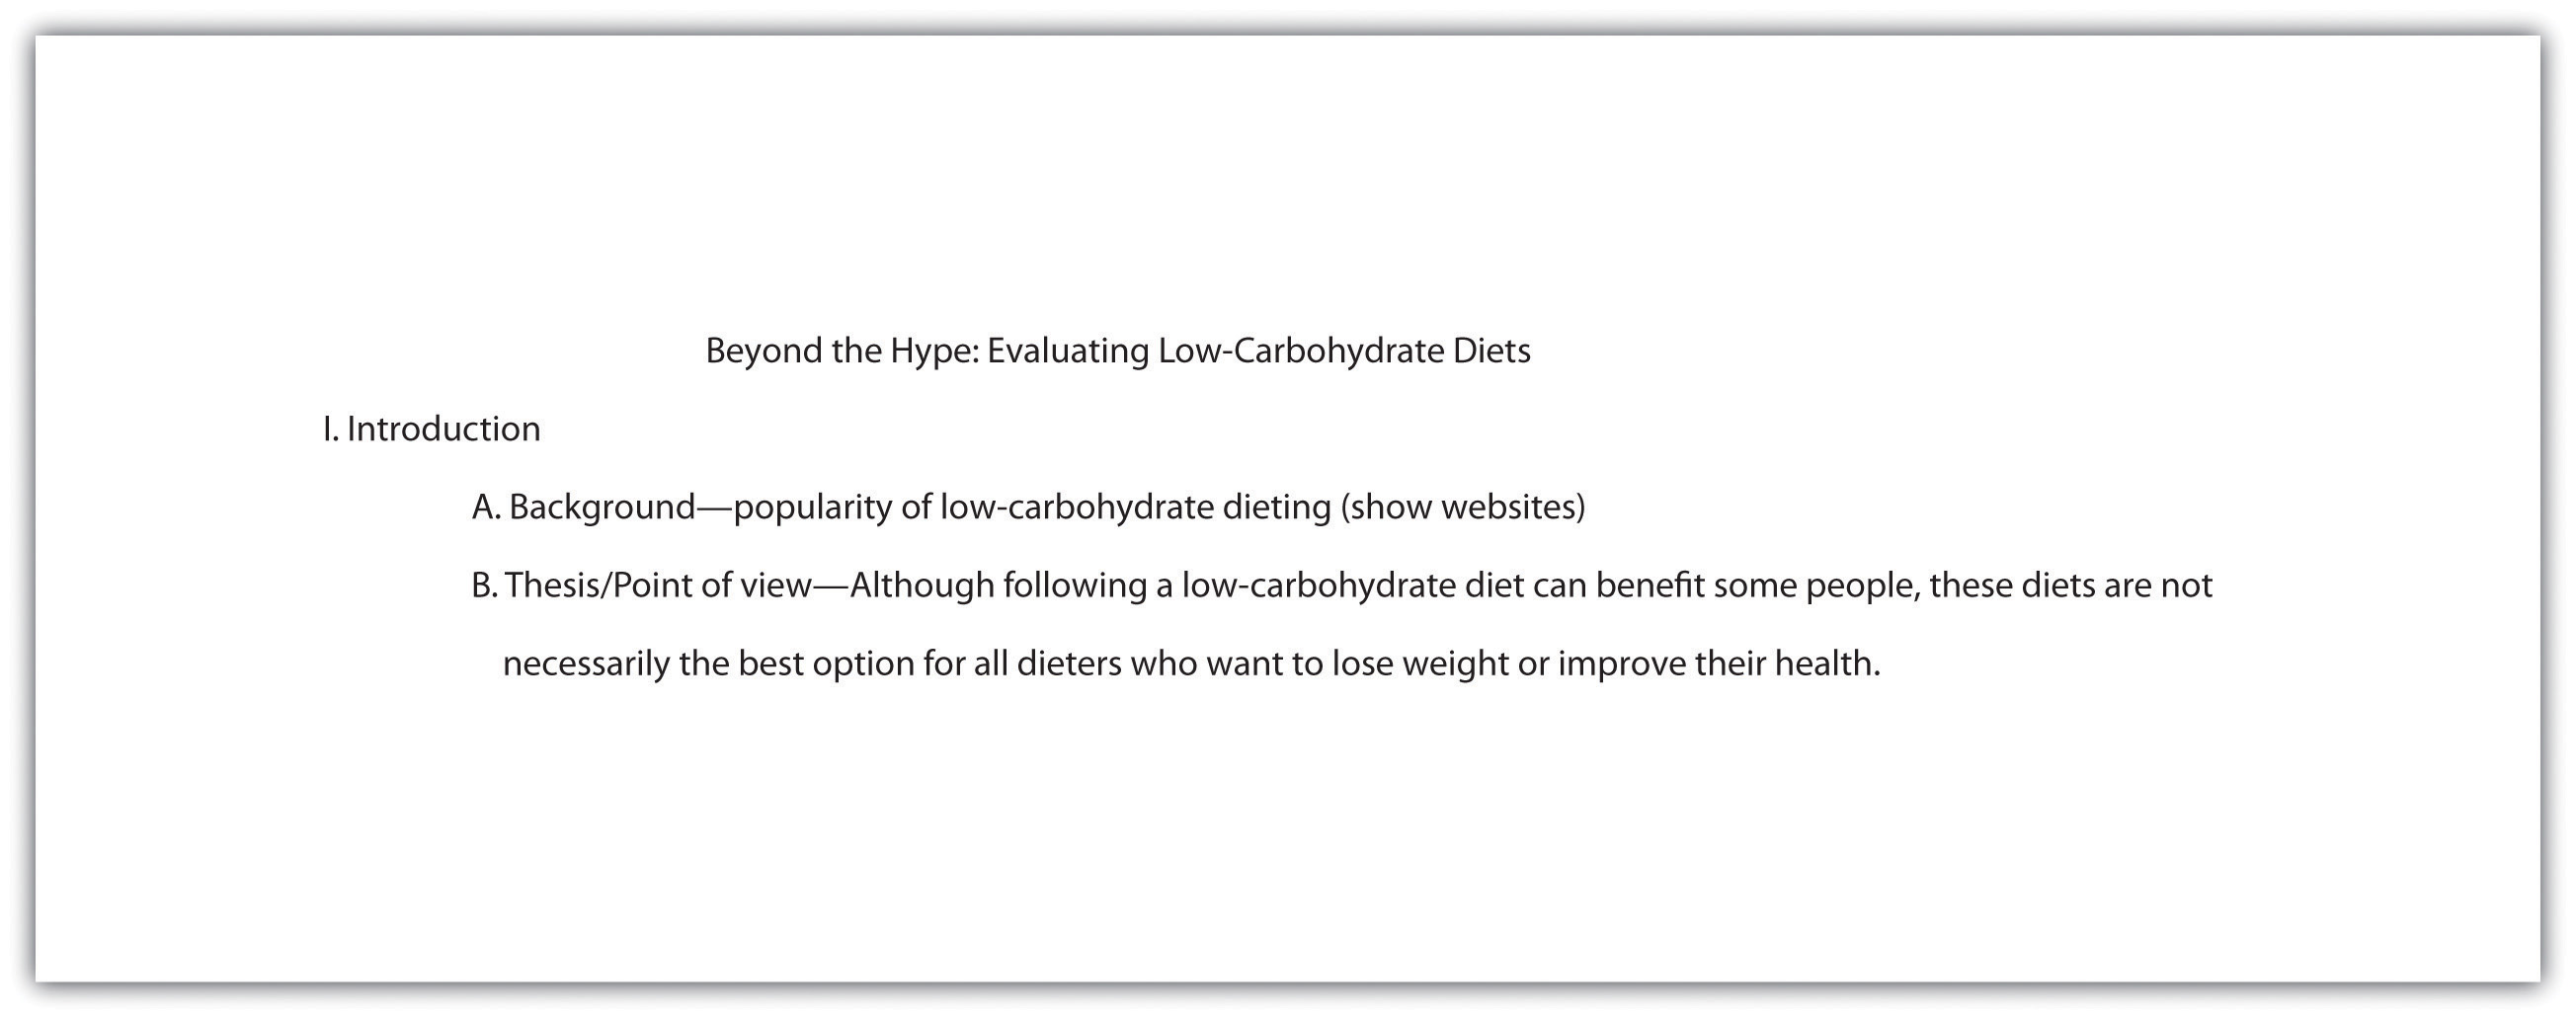
Jorge completed the introduction part of his outline by listing the key points he would use to open his presentation. He also planned to show various web links early on to illustrate the popularity of the low-carbohydrate diet trend.
Planning the Body of Your Presentation
The next step is to work with the key ideas you identified earlier. Determine the order in which you want to present these ideas, and flesh them out with important details. Chapter 10 “Rhetorical Modes” discusses several organizational structures you might work with, such as chronological order, comparison-and-contrast structure, or cause-and-effect structure.
How much detail you include will depend on the time allotted for your presentation. Your instructor will most likely give you a specific time limit or a specific slide limit, such as eight to ten slides. If the time limit is very brief (two to three minutes, for instance), you will need to focus on communicating your point of view, main supporting points, and only the most relevant details. Three minutes can feel like an eternity if you are speaking before a group, but the time will pass very quickly. It is important to use it well.
If you have more time to work with—ten minutes or half an hour—you will be able to discuss your topic in greater detail. More time also means you must devote more thought into how you will hold your audience’s interest. If your presentation is longer than five minutes, introduce some variety so the audience is not bored. Incorporate multimedia, invite the audience to complete an activity, or set aside time for a question-and-answer session.
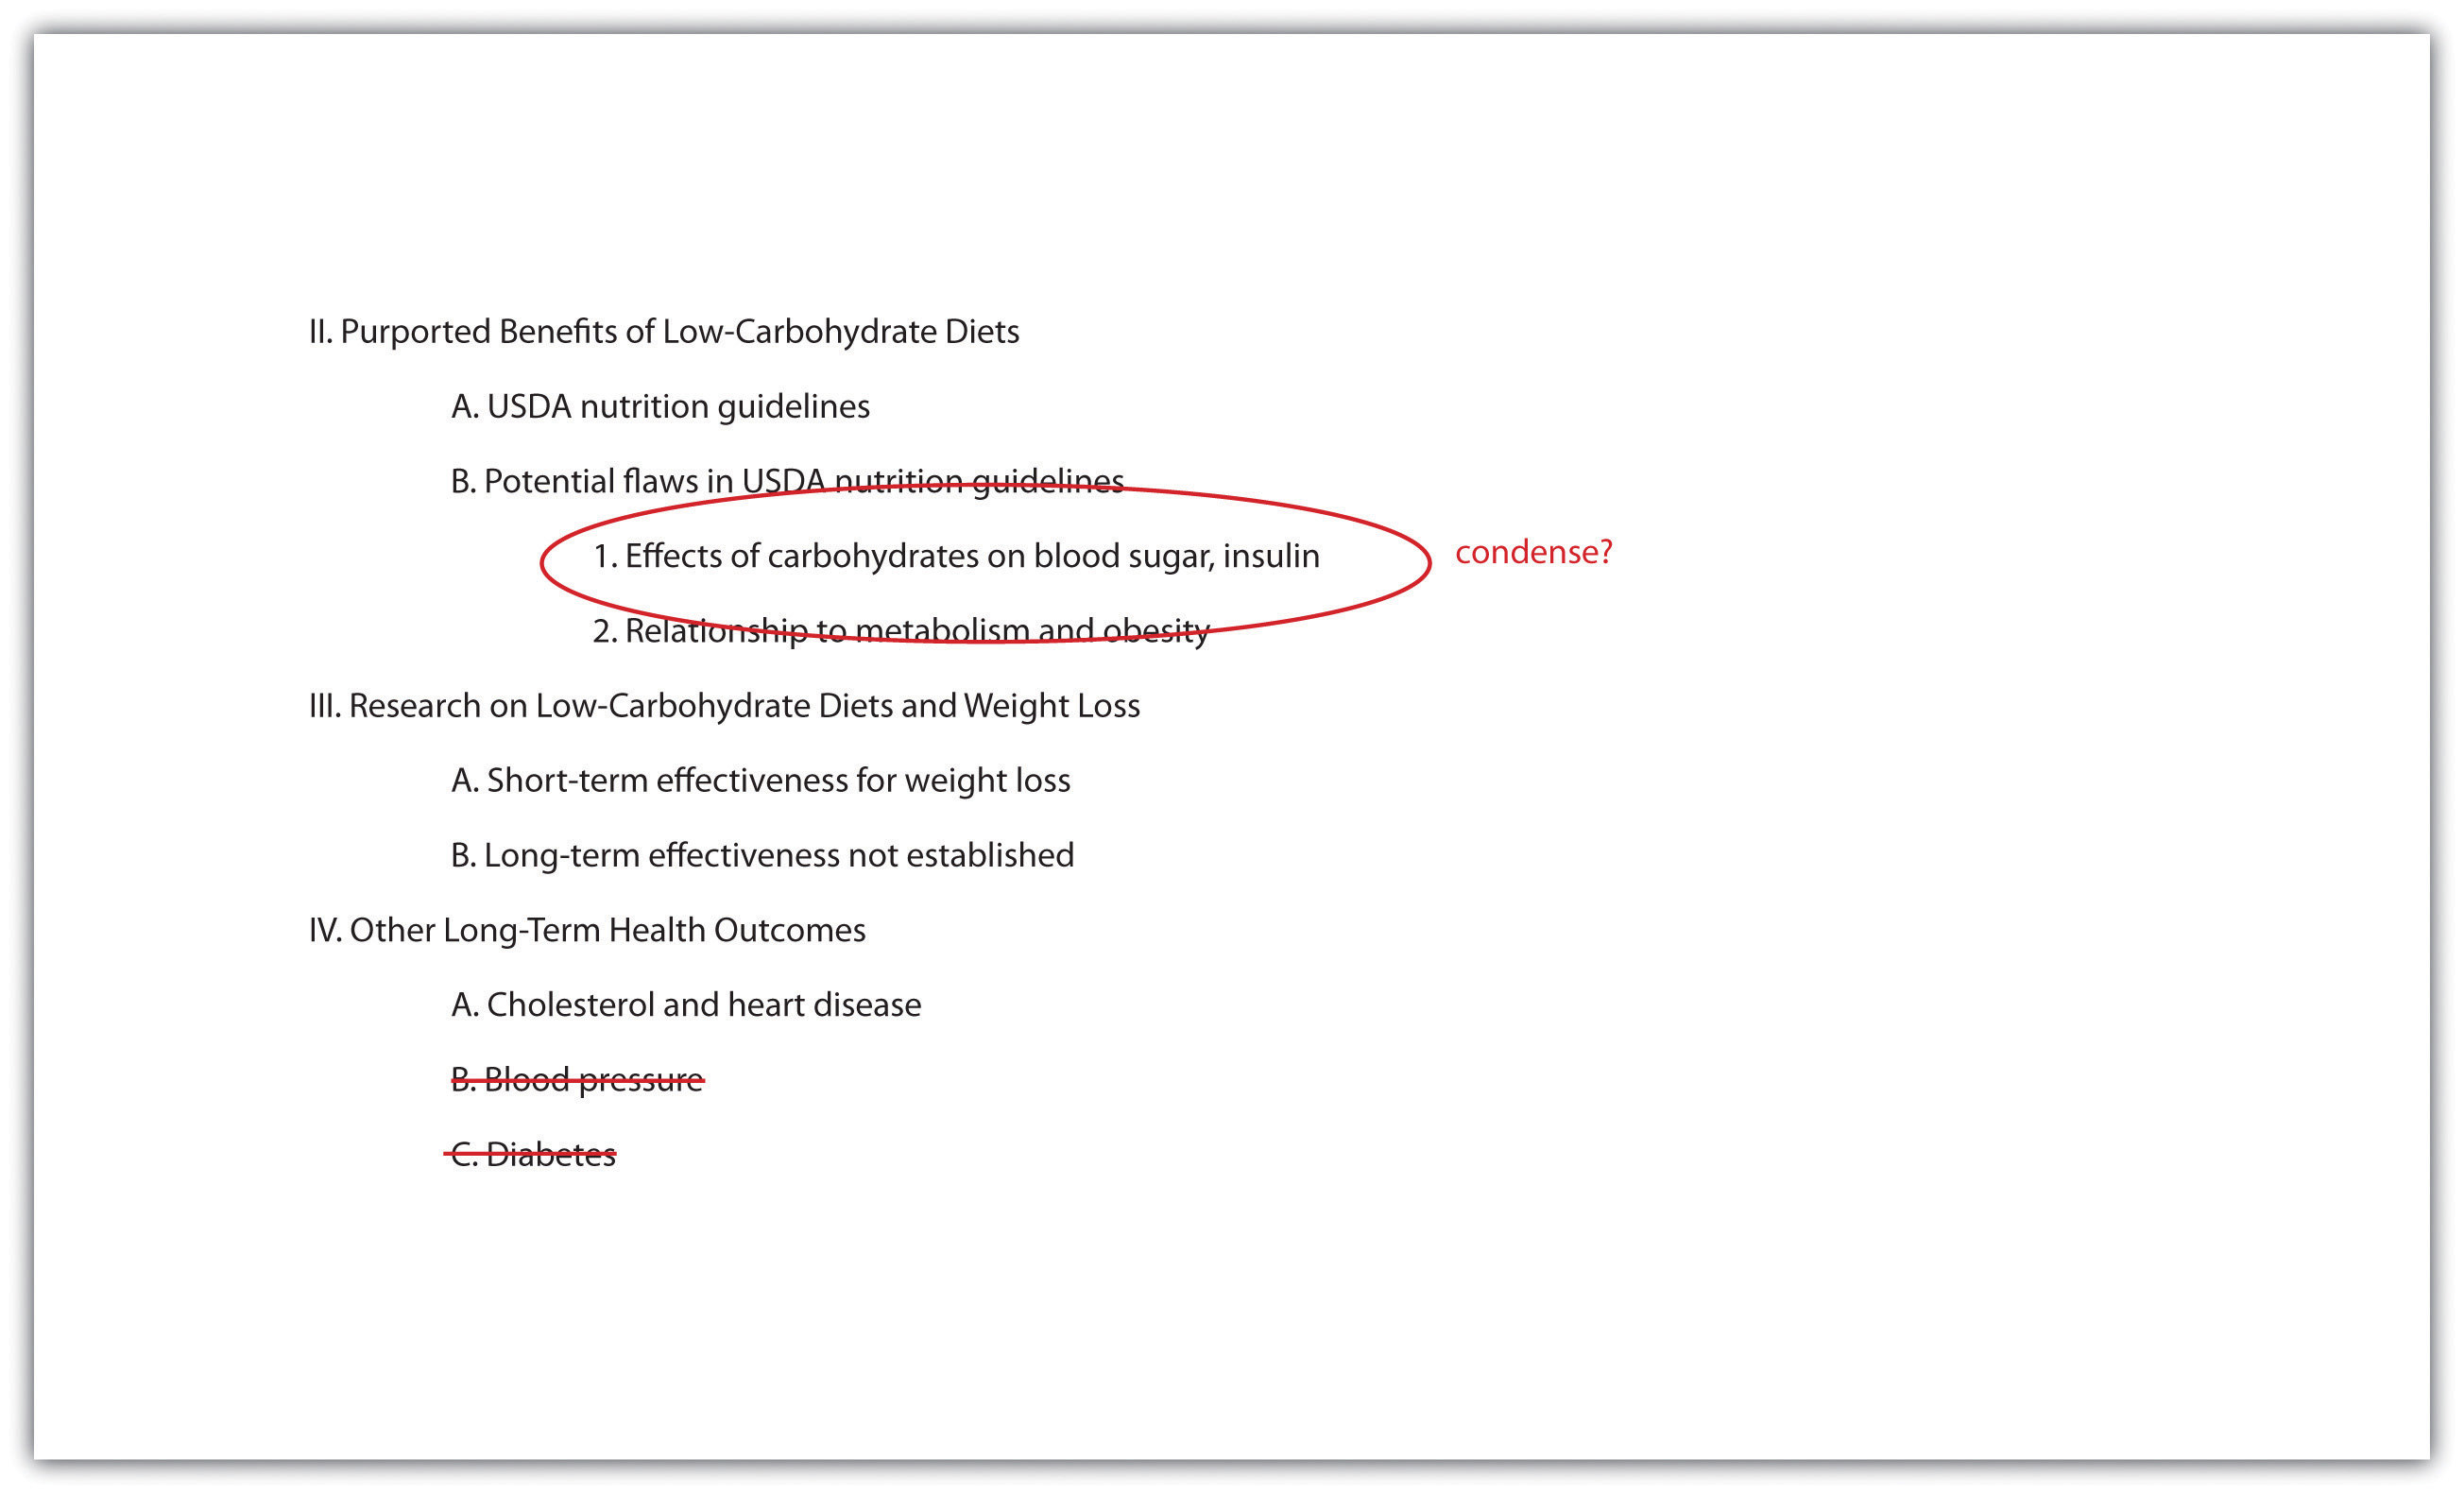
Jorge was required to limit his presentation to five to seven minutes. In his outline, he made a note about where he would need to condense some complicated material to stay within his time limit. He also decided to focus only on cholesterol and heart disease in his discussion of long-term health outcomes. The research on other issues was inconclusive, so Jorge decided to omit this material. Jorge’s notes on his outline show the revisions he has made to his presentation.
Tip
You are responsible for using your presentation time effectively to inform your audience. You show respect for your audience by following the expected time limit. However, that does not mean you must fill all of that time with talk if you are giving a face-to-face presentation. Involving your audience can take some of the pressure off you while also keeping them engaged. Have them respond to a few brief questions to get them thinking. Display a relevant photograph, document, or object and ask your classmates to comment. In some presentations, if time allows, you may choose to have your classmates complete an individual or group activity.
Planning Your Conclusion
The conclusion should briefly sum up your main idea and leave your audience with something to think about. As in a written paper, you are essentially revisiting your thesis. Depending on your topic, you may also ask the audience to reconsider their thinking about an issue, to take action, or to think about a related issue. If you presented an attention-getting fact or anecdote in your introduction, consider revisiting it in your conclusion. Just as you have learned about an essay’s conclusion, do not add new content to the presentation’s conclusion.
No matter how you choose to structure your conclusion, make sure it is well planned so that you are not tempted to wrap up your presentation too quickly. Inexperienced speakers, in a face-to-face presentation, sometimes rush through the end of a presentation to avoid exceeding the allotted time or to end the stressful experience of presenting in public. Unfortunately, a hurried conclusion makes the presentation as a whole less memorable.
Tip
Time management is the key to delivering an effective presentation whether it is face-to-face or in PowerPoint. As you develop your outline, think about the amount of time you will devote to each section. For instance, in a five-minute face-to-face presentation, you might plan to spend one minute on the introduction, three minutes on the body, and one minute on the conclusion. Later, when you rehearse, you can time yourself to determine whether you need to adjust your content or delivery.
In a PowerPoint presentation, it is important that your presentation is visually stimulating, avoids information overload by limiting the text per slide, uses speaker notes effectively, and uses a font that is visible on the background (e.g., avoid white letters on a light background or black letters on a dark background).
Exercise 2
Work with the list you created in Note 14.4 “Exercise 1” to develop a more complete outline for your presentation. Make sure your outline includes the following:
- An introduction that uses strategies to capture your audience’s attention
- A body section that summarizes your main points and supporting details
- A conclusion that will help you end on a memorable note
- Brief notes about how much time you plan to spend on each part of the presentation (you may adjust the timing later as needed)
Identifying Opportunities to Incorporate Visual and Audio Media
You may already have some ideas for how to incorporate visual and audio media in your presentation. If not, review your outline and begin thinking about where to include media. Presenting information in a variety of formats will help you keep your audience’s interest.
Use Presentation Software
Delivering your presentation as a slideshow is one way to use media to your advantage. As you speak, you use a computer and an attached projector to display a slideshow of text and graphics that complement the speech. Your audience will follow your ideas more easily, because you are communicating with them through more than one sense. The audience hears your words and also sees the corresponding visuals. A listener who momentarily loses track of what you are saying can rely on the slide to cue his or her memory.
To set up your presentation, you will need to work with the content of your outline to develop individual slides. Each slide should focus on just a few bullet points (or a similar amount of content presented in a graphic). Remember that your audience must be able to read the slides easily, whether the members sit in the front or the back of the room. Avoid overcrowding the slides with too much text.
Using presentation software, such as PowerPoint, allows you to incorporate graphics, sounds, and even web links directly into your slides. You can also work with available styles, color schemes, and fonts to give your presentation a polished, consistent appearance. Different slide templates make it easy to organize information to suit your purpose. Be sure your font is visible to you audience. Avoid using small font or colored font that is not visible against your background.
Use PowerPoint as a Visual Aid
PowerPoint and similar visual representation programs can be effective tools to help audiences remember your message, but they can also be an annoying distraction to your speech. How you prepare your slides and use the tool will determine your effectiveness.
PowerPoint is a slideware program that you have no doubt seen used in class, seen in a presentation at work, or perhaps used yourself to support a presentation. PowerPoint and similar slideware programs provide templates for creating electronic slides to present visual information to the audience, reinforcing the verbal message. You will be able to import or cut and paste words from text files, images, or video clips to create slides to represent your ideas. You can even incorporate web links. When using any software program, it is always a good idea to experiment with it long before you intend to use it; explore its many options and functions, and see how it can be an effective tool for you.
At first, you might be overwhelmed by the possibilities, and you might be tempted to use all the bells, whistles, and sound effects, not to mention the tumbling, flying, and animated graphics. If used wisely, a dissolve or key transition can be like a well-executed scene from a major motion picture and lead your audience to the next point. But if used indiscriminately, it can annoy the audience to the point where they cringe in anticipation of the sound effect at the start of each slide. This danger is inherent in the tool, but you are in charge of it and can make wise choices that enhance the understanding and retention of your information.
The first point to consider is which visual aid is the most important. The answer is you, the speaker. You will facilitate the discussion, give life to the information, and help the audience correlate the content to your goal or purpose. You do not want to be in a position where the PowerPoint presentation is the focus and you are on the side of the stage simply helping the audience follow along. Slides should support you in your presentation, rather than the other way around. Just as there is a number one rule for handouts (do not pass them out at the start of your presentation), there is also one for PowerPoint presentations: do not use PowerPoint slides as a read-aloud script for your speech. The PowerPoint slides should amplify and illustrate your main points, not reproduce everything you are going to say.
Your pictures are the second area of emphasis you will want to consider. The tool will allow you to show graphs, charts and illustrate relationships that words may only approach in terms of communication, but your verbal support of the visual images will make all the difference. Dense pictures or complicated graphics will confuse more than they clarify. Choose clear images that have an immediate connection to both your content and the audience, tailored to their specific needs. After the images, consider using only key words that can be easily read to accompany your pictures. The fewer words the better. Try to keep each slide to a total word count of less than ten words. Do not use full sentences. Using key words provides support for your verbal discussion, guiding you as well as your audience. The key words can serve as signposts or signal words related to key ideas.
A natural question at this point is, How do I communicate complex information simply? The answer comes with several options. The visual representation on the screen is for support and illustration. Should you need to communicate more technical, complex, or in-depth information in a visual way, consider preparing a handout to distribute at the conclusion of your speech. You may also consider using a printout of your slide show with a section for taking notes, but if you distribute it at the beginning of your speech, you run the risk of turning your presentation into a guided reading exercise and possibly distracting or losing members of the audience. Everyone reads at a different pace and takes notes in their own way. You do not want to be in the position of going back and forth between slides to help people follow along.
Another point to consider is how you want to use the tool to support your speech and how your audience will interpret its presentation. Most audiences wouldn’t want to read a page of text—as you might see in this book—on the big screen. They will be far more likely to glance at the screen and assess the information you present in relation to your discussion. Therefore, it is key to consider one main idea, relationship, or point per slide. The use of the tool should be guided with the idea that its presentation is for the audience’s benefit, not yours. People often understand pictures and images more quickly and easily than text, and you can use this to your advantage, using the knowledge that a picture is worth a thousand words.
Incorporate Visual Media
Even if you do not use a slideshow to complement your presentation, you can include visual media to support and enhance your content. Visual media are divided into two major categories: images and informational graphics.
Image-based media, such as photographs or videos, often have little or no accompanying text. Often these media are more powerful than words in getting a message across. Within the past decade, the images associated with major news stories, such as the Indian Ocean tsunami of 2004, the Abu Ghraib prison abuses from 2004 to 2006, and the 2010 earthquake in Haiti, have powerfully affected viewers’ emotions and drawn their attention to these news stories.
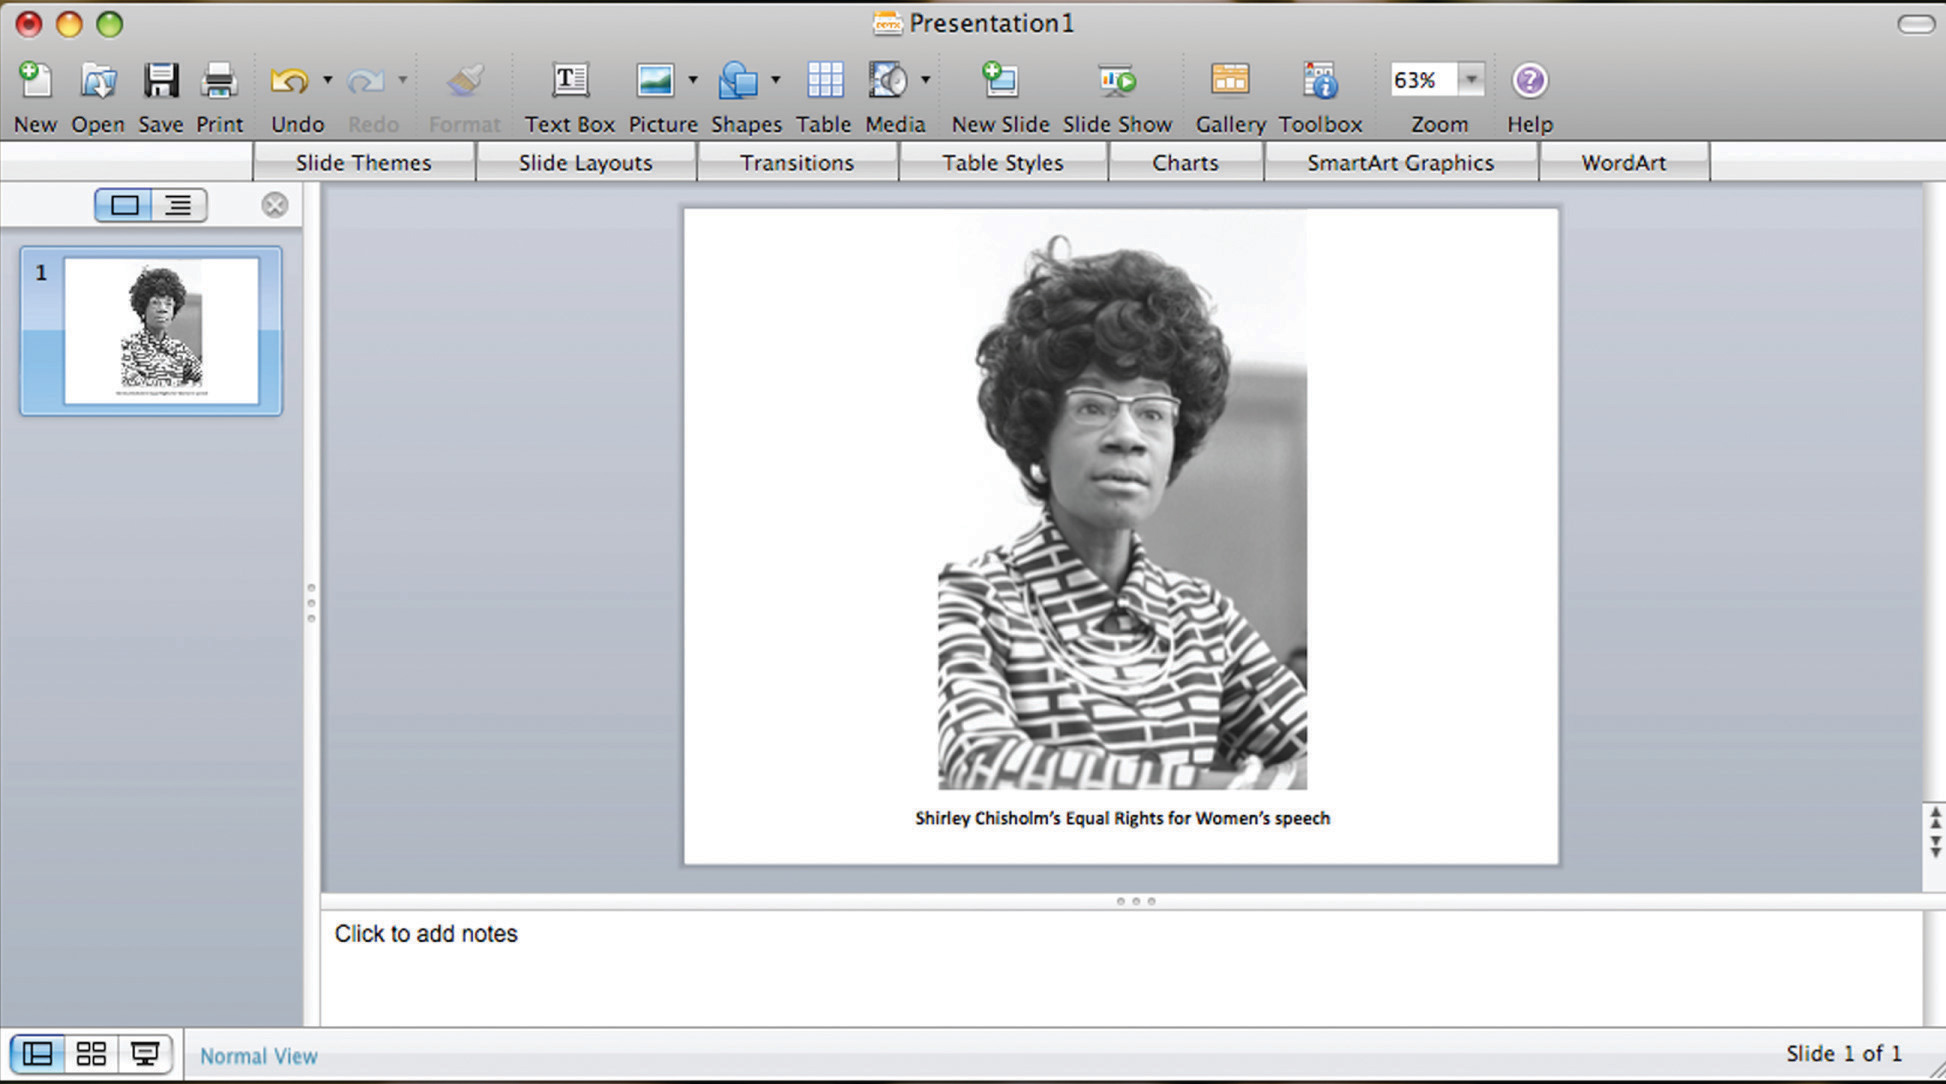
Figure 14.1
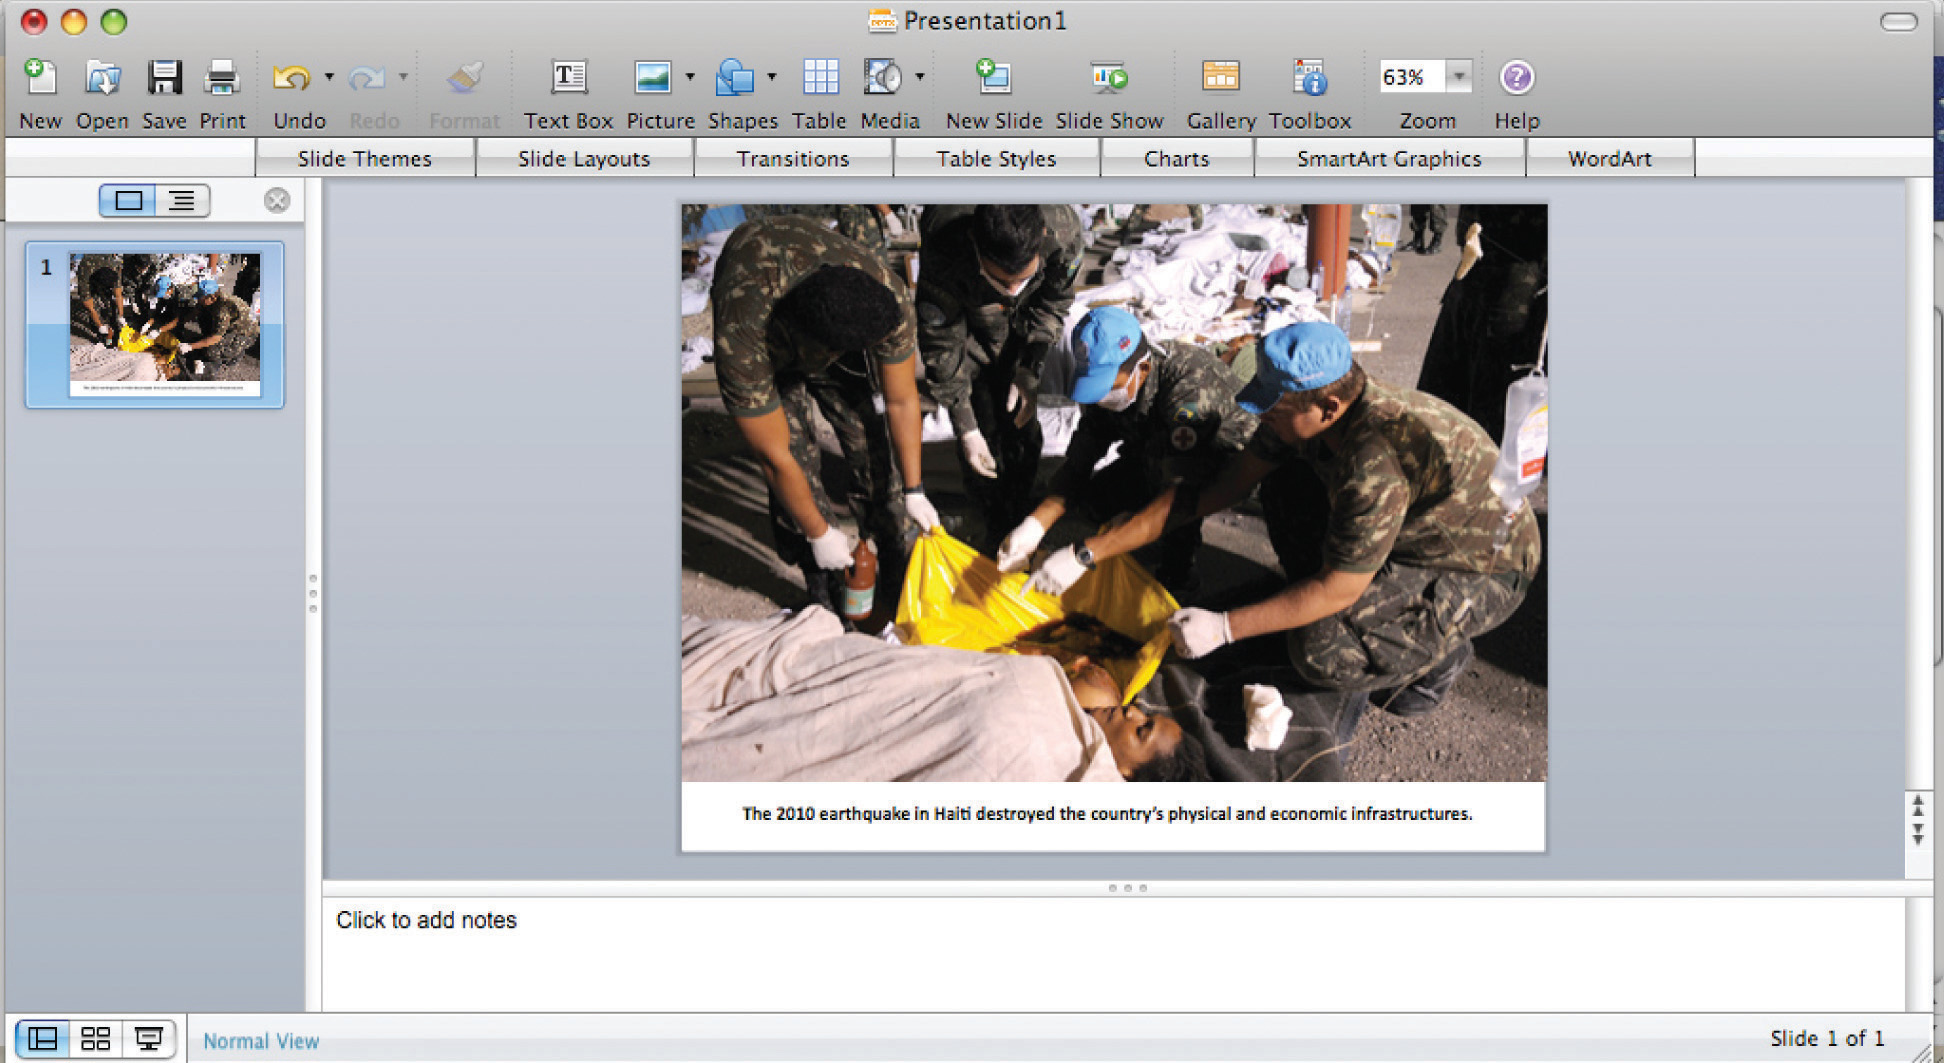
Even if your presentation addresses a less dramatic subject, you can still use images to draw in your audience. Consider how photographs, an illustration, or a video might help your audience connect with a particular person or place or bring a historical event to life. Use visual images to support descriptions of natural or man-made phenomena. What ideas lend themselves to being explained primarily through images?
In addition, consider how you might incorporate informational graphics in your presentation. Informational graphics include diagrams, tables, pie charts, bar and line graphs, and flow charts. Informational graphics usually include some text and often work well to present numerical information. Consider using them if you are presenting statistics, comparing facts or data about several different groups, describing changes over time, or presenting a process.
Incorporate Audio Media
Although audio media are not as versatile as visual media, you may wish to use them if they work well with your particular topic. If your presentation discusses trends in pop music or analyzes political speeches, playing an audio clip is an obvious and effective choice. Clips from historical speeches, radio talk shows, and interviews can also be used, but extended clips may be ineffective with modern audiences. Always assess your audience’s demographics and expectations before selecting and including audio media.
Exercise 3
Review the outline you created in Note 14.11 “Exercise 2”. Complete the following steps:
- Identify at least two to three places in your presentation where you might incorporate visual or audio media. Brainstorm ideas for what media would be effective, and create a list of ideas. (In Chapter 14 “Creating Presentations: Sharing Your Ideas”, Section 14.2 “Incorporating Effective Visuals into a Presentation”, you will explore different media options in greater depth. For now, focus on coming up with a few general ideas.)
- Determine whether you will use presentation software to deliver your presentation as a slideshow. If you plan to do so, begin using your outline to draft your slides.
Figure 14.2
Planning Ahead: Annotating Your Presentation
When you make a presentation, you are giving a performance of sorts. It may not be as dramatic as a play or a movie, but it requires smooth coordination of several elements—your words, your gestures, and any media you include. One way to ensure that the performance goes smoothly is to annotate your presentation ahead of time.
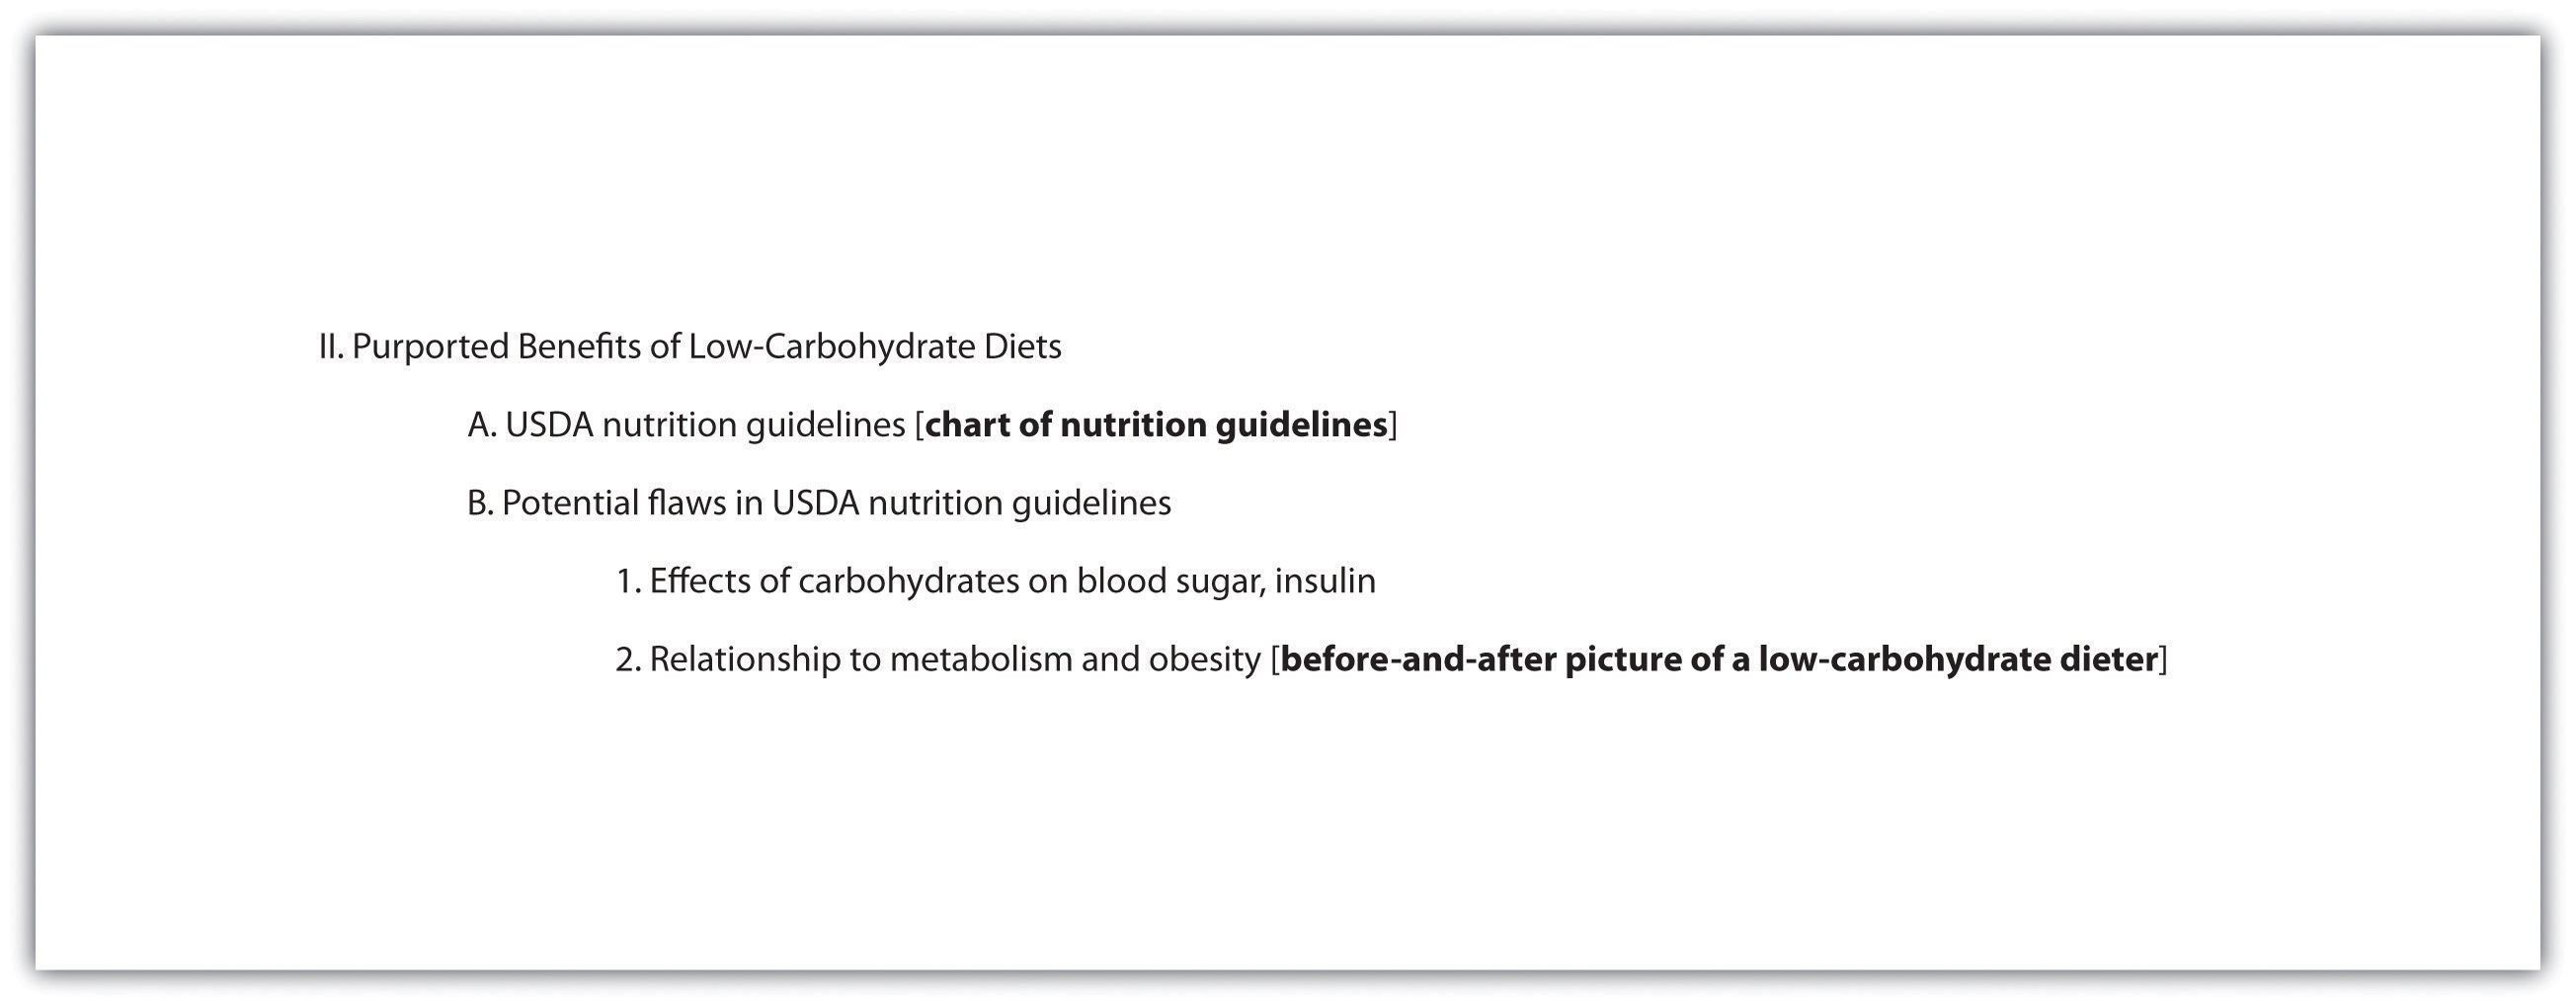
To annotate means to add comments or notes to a document. You can use this technique to plan how the different parts of your presentation will flow together. For instance, if you are working with slides, add notes to your outline indicating when you will show each slide. If you have other visual or audio media to include, make a note of that, too. Be as detailed as necessary. Jotting “Start video at 3:14” can spare you the awkwardness of searching for the right clip during your presentation.
Writing at Work
In the workplace, employees are often asked to deliver presentations or conduct a meeting using standard office presentation software. If you are using presentation software, you can annotate your presentation easily as you create your slides. Use the notes feature at the bottom of the page to add notes for each slide. As you deliver your presentation, your notes will be visible to you on the computer screen but not to your audience on the projector screen.
In a face-to-face presentation, make sure your final annotated outline is easy to read. It will serve to cue you during your presentation, so it does not need to look polished, as long as it is clear to you. Double space the text. Use a larger-than-normal font size (14 or 16 points) if that will make it easier for you to read. Boldface or italics will set off text that should be emphasized or delivered with greater emotion. Write out main points, as well as your opening and closing remarks, in complete sentences, along with any material you want to quote verbatim. Use shorter phrases for supporting details. Using your speaker notes effectively will help you deliver an effective presentation. Highlighting, all capital letters, or different-colored font will help you easily distinguish notes from the text of your speech. Read Jorge’s annotated outline.
Tip
Some students prefer to write out the full text of their face-to-face presentation. This can be a useful strategy when you are practicing your delivery. However, keep in mind that reading your text aloud, word for word, will not help you capture and hold your audience’s attention. Write out and read your speech if that helps you rehearse. After a few practice sessions, when you are more comfortable with your material, switch to working from an outline. That will help you sound more natural when you speak to an audience.
In a PowerPoint presentation, remember to have your slides in logical sequential order. Annotating your presentation before submitting it to your audience or your instructor will help you check for order and logical transitions. Too much text or data may confuse your audience; strive for clarity and avoid unnecessary details. Let the pictures or graphics tell the story but do not overload your slideshow with visuals. Be sure your font is visible. Look for consistency in the time limit of your presentation to gauge your level of preparedness.
Exercise 4
Begin to annotate your outline. (You will probably add more notes as you proceed, but including some annotations now will help you begin pulling your ideas together.) Mark your outline with the following information:
- Write notes in brackets to any sections where you definitely plan to incorporate visual or audio media.
- If you are presenting a slideshow, add notes in brackets indicating which slides go with each section of your outline.
- Identify and set off any text that should be emphasized.
Key Takeaways
- An effective presentation presents ideas more concisely than a written document and uses media to explain ideas and hold the audience’s interest.
- Like an essay, a presentation should have a clear beginning, middle, and end.
- Good writers structure their presentations on the thesis, or point of view; main ideas; and key supporting details and create a presentation outline to organize their ideas.
- Annotating a presentation outline is a useful way to coordinate different parts of the presentation and manage time effectively.
