5 Finding Openly Licensed Images
In this chapter we will outline how you can find images to use within the ebook. Remember this is part of your grade for the project to correctly attribute images and provide alternative text.
Part 1: Finding and inserting an image
There are several online resources available to you. We will go through one example in this chapter, and link the others below. Opensource is a great tool to find images and sounds, all the content there is available for use. For this example I will be looking to find an image of zebrafish.
I searched “zebrafish” in Opensource, and filtered the results to display only images.
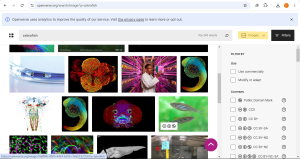
Once you find the image you want to use, select the image and scroll to the bottom of the page. The licensing information is there for you to copy. From here you can also download the image. It’s helpful to keep this window open for the next step.
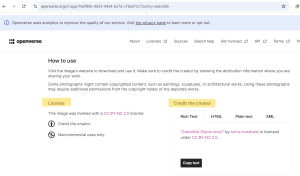
Go back into your ebook chapter and insert the image into the page.
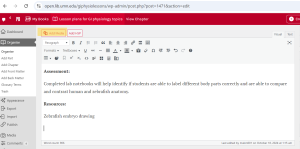
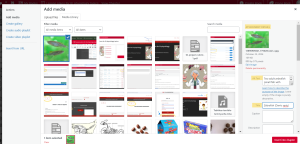
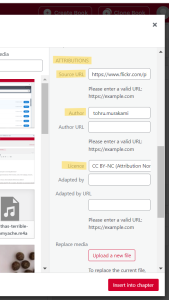
Next, upload the image from your computer into the chapter. Once it is uploaded and selected, you will be able to write the alt text and enter the necessary information. Scroll down on the right hand side to get to the licensing information. You can enter the link of the source image and the author here as well.
Part 2: How to format a correct attribution
To complete an ideal attribution for CC-licensed material, you’ll want to include the TASL elements: Title, Author, Source, and License. Consider the following example:
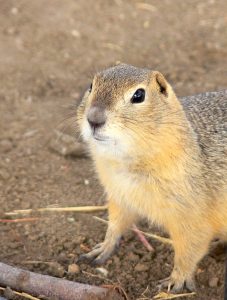
“Gopher” by Brad Smith, shared with CC-BY-NC 2.0 license.
In this attribution we have the title (“Gopher”), author (Brad Smith), and license (CC-BY-NC 2.0) in the text; the source is provided with the hyperlink.
For more in-depth best practices for attribution in various scenarios, consult the CC “Best practices for attribution” wiki page.
Part 3: Other websites with open course images
Openverse : Openverse contains images and sound files, easily filtered by CC license type. All material is CC-licensed or in the public domain.
Wikicommons: Wikipedia is full of CC-licensed images. Check the Wikimedia Commons for a wealth of CC-licensed and public domain material.
Flickr: Flickr is a very popular image hosting website, particularly for photographers. Flickr has its own Creative Commons, where you can browse and search images by a specific CC license types.
Google Images: Google Images searches the web for image content. To learn more about usage rights of images in Google Images, do a keyword search at Images.google.com. Then select search tools. Navigate to usage rights. In this screen capture (embedded right) you will see that you are able to narrow to see various categories. Make decisions about what images to modify based on the listed usage rights. “Labeled for reuse” typically means the image will have a license that allows for free use.
Part 4: Copyrighted images to create your own content
Many images in traditional textbooks are copyrighted, but they convey concepts that are facts that cannot be copyrighted.
When you are creating a new image or figure that represents an important concept or idea, but you want to make it openly licensed, try to keep these points in mind
- Try to accurately represent factual, real world objects. For example, the inner ear, or the central nervous system, or the olfactory system.
- Don’t trace other people’s creative work. This includes photographs.
- Try to come up with your own way to convey an idea. It is OK sometimes if figures or images look similar if they convey the same important information. But usually you should be able to represent that idea in a unique way, even if the differences are subtle.
This can be confusing, but do your best. We encourage you to attach a Creative Commons license to your new images so others understand they can freely use and modify your work!
It is easy to attach a Creative Commons license to your image. Simply include the license on the image as text or a graphic. We recommend using either CC BY or CC BY-NC.
Further Reading: Refer to this page for more resources on Creative Commons Licensing.

