29 Patient prep
Patient Prep Lab
Goals of this lab
Be able to prepare your patient for surgery, including
- Clip hair
- Scrub skin
- Place drapes sterilely
Clipping of hair, scrubbing the skin, and sterilely placing quarter drapes around the area, creates an operative window, through which a given surgical procedure is performed. This is a fundamental skill used often in veterinary surgery.
While most of the time you’ll have a CVT prepping the surgical site, we as vets are often called to help out when needed, or will train CVTs, so it is important to be able to perform these skills, and to fully appreciate what it takes to do this task well!
Next semester you will add a mass excision to this exercise, then at the end of next semester you’ll perform a mass excision assessment where you’ll combine several other important clinical skills together as they will be done in clinical practice, namely calculation of premedication and IM injection, IV catheter placement, determine lines of tension, clip of mass excision surgical site, move patient to sx suite, scrub site, then open first layer of sx pack, then gown and closed glove, and perform quarter drape, apply smaller area drape, then mass excision. Will be fun!
To prepare for lab
- read this
- do this
- wear this
- bring this
Lab will be on cadavers. To maintain health, plan on wearing exam gloves and cleaning/changing them at each step.
Clip hair
Hair is clipped because…..
Key Points
- Clip the day of surgery
- Clip wide margins
- Avoid skin damage
Scrub skin
Skin is scrubbed with either betadine or chlorhexidine
Key Takeaways
- Scrub solution first, alcohol next
- Scrub from center to perimeter
- Don’t contaminate the cleaned area
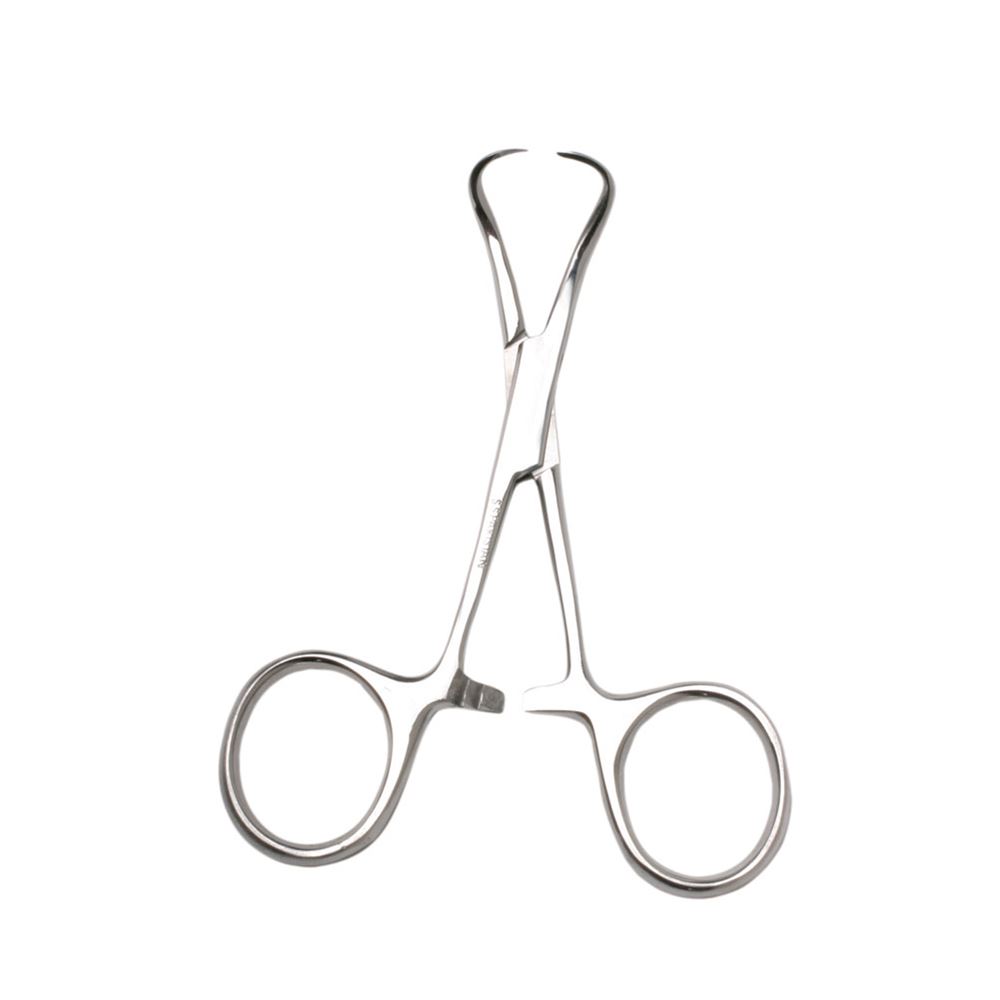
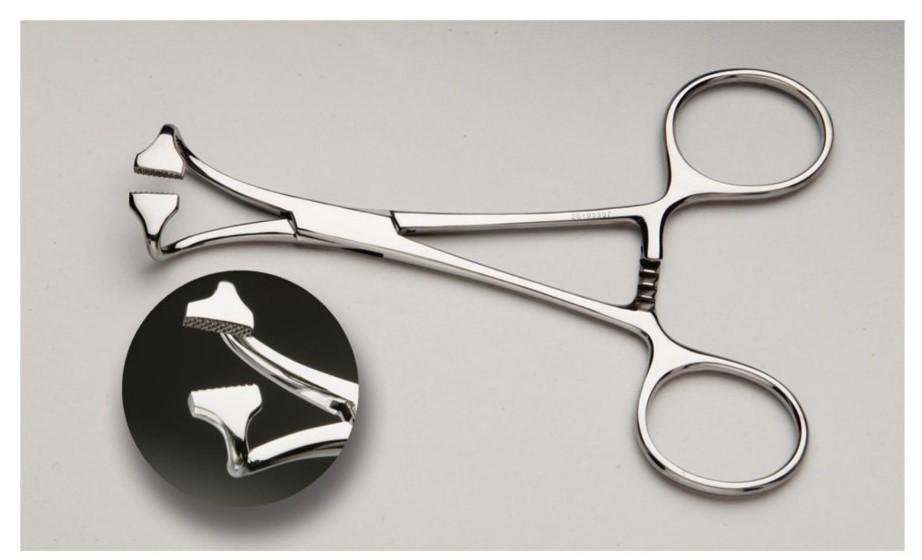
What we will do in this lab: The drapes are secured to the patient using penetrating towel clamps that go through sterile paper drape or sterile huck towel and pierce the prepped skin to hold the drapes/huck towels in place. The benifits of draping off an area in this manner outweighs the minor risk of infection at the puncture sites in the skin.
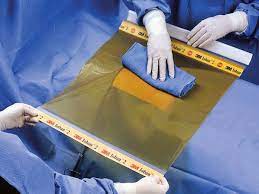
Alternatively many private practioners and high volume spay/neuter practioners use pre-fenestrated cloth drape as is faster alternative. Additionally a larger sterile paper drape often covering the entire patient is then applied over the quarter drapes and secured with either penetrating clamps or ideally nonpenetrating towel clamps to the corner (quarter drapes). Iodine impregnated film called Ioban is often placed in veterinary orthopedic surgeries. Most human surgical procedures use a single sterile key sheet often designed specifically for a given surgery that attaches to the skin with adhesive vs. penetrating clamps. These adhesive drapes are used in vet med around the eye where blood vessels can be superficial, and thin skin.
PLEASE COME PREPARED FOR LAB
Read this chapter, click on blue bolded text for pictures, further explanations or videos!
Take pre-lab quiz,
and bring:
- Wear scrubs, lab coat and nametag on scrub top
- 2 pr. surgical gloves in your size
- 2 pr. exam gloves in your size
- Dissection kit w/your 4 penetrating towel clamps-will wrap in 2 “sterile” towels to simulate surgey instrument pack-we’ll show you how to do this on Mayo table (small instrument table on each end of surgery table)
We are going to simulate preparing a cadaver patient for a surgical procedure. Students will work in pairs, each will perform the tasks themselves and assist each other as needed. The site of your surgical prep area could be anywhere, as animal patients can have lacerations or masses anywhere on the body! We’d like each student to:
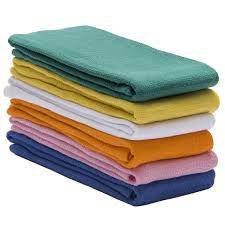
- Dissection kit set up inside 2 towels (simulates sterile instrument pack) Follow the instructions seen here to set up your dissection kit w/4 penetrating drape clamps and 4 folded huck towels (not shown in demo). We’ll help you set this up on a mayo table at your surgery table.
- Wear Lab Exam gloves and lab coat to protect scrubs and Clip video 1 clipper’s width around a small marker on the fur. Make an even edged square (remember an even clip and tidy incision line are the only markers of quality that your client will see). Keep skin taught with non-dominant hand and generally clip against the direction of hair growth.
- Cleanup hair from site (use hair rollers stored in drawer under clippers) and place in garbage, brush and spray lube clippers and replace for others to use, wipe your exam gloves clean with moist towel to remove hair! Next, remove your lab coat (store in sx locker in anesthesia prep area)
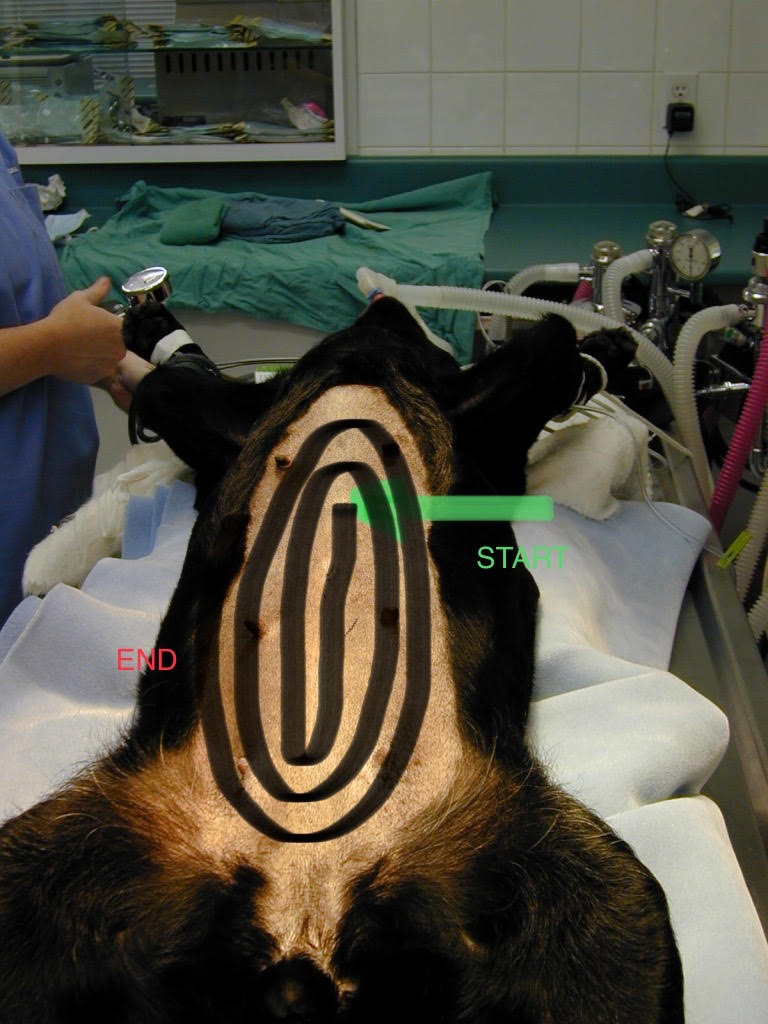
- Wear now cleaned exam gloves and Scrub video surgical site starting in center along incision line in middle of clip and make widening circular motion outward, stopping when you hit the hair on edge click here for diagram of pattern. Use the pick hand (non-dominant hand) to take gauze from chlorhexidine scrub bowl, form into hershey’s kiss shape, squeeze a bit out so no big drips and drop into the scrub hand (dominant hand) to scrub, follow the pattern shown in video and diagram above, then repeat the process with cholhexidine rinse. repeat this scrub/rinse cycle 2 more times (3 total).
- Dry exam gloves, then remove them and re-set them (pull off and turn right side out for reuse during next practice drill).
- Open outer layer of sterile pack (pinch outer surface only) and unfold wrap (towel) , walk around Mayo table and unfold each side of wrap, dont reach over the open pack. Sterile column rises from margins of open pack to the ceiling.
- Simulate hand scrub foam from fingers to elbows, the rule of 4; (4) back and forth cycles using foam side of brush with povidone iodine in foam, on each surface of each finger (4 surfaces), then 4 surfaces of palm and 4 surfaces of forearm and repeat on other hand/arm. Total time is usually 5min first sx of day, 3min thereafter…we may speed this up to allow for repeat scrubbing patient and applying huck towel in 4 corner drape.
- Open glove video, then open inner layer of sterile pack in same way as outer layer, be mindul of staying sterile!
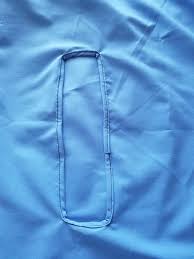
- Place corner drapes video (quarter drape) order doesnt really matter, however helpful to place drapes on slope first then others across as drape can have a bit of velcro action… Generally when place 2 drapes perpendicular to each other place a clamp to hold in place in corner created, bifurcating the right angle vs. placing all 4 drapes then clamping at corners to hold. Huck towels are folded acordion style along long axis in thirds, then folded acordion in a short stack to handle easily. The corner drapes should frame the shaved area-be sure to allow enough room to place clamps and protect your gloved hands from contamination! When placing drapes have 1/3 towel folded inward toward the patient-protect fingers from being contaminated and pull huck towel tight so not sagging, when lined up over prepped skin drop in place. Rules of moving drapes: you can move drape away from center BUT not toward-this would bring contamination to center of the shaved area. The towel clamp can be opened and repositioned, as long as not pulled through the huck towel, but once opened and removed from the huck towel, they need to be discarded and replaced with new sterile clamps.
Instructors will be present to help you and will help to reset after first round, then practice going through steps 3-8 again! Please ask questions and help each other! And of course enjoy and learn.
Tidy up Time
Be sure to clean penetrating clamps with soap and water and dry before packing back into dissection kit, and of course wash hands before leaving lab with soap and water.
Post lab practice
You can practice manipulating huck towels at home, a dish towel works well, and can use a rolled up old towel or T-shirt for a body.